User work-flow
This documentation so covers topics of installation and detailed description of the provided API.
There is also still one topic, that needs some coverage - how the Edeposit user can use this module.
Why
First of all - you may ask “why should I use the FTP interface to upload files to the Edeposit project?”
Answer is simple: it can save you a lot of work. Data uploaded over FTP are automatically paired with metadata, you can use batch uploads and there is only few steps compared with process in web interface.
You can make the whole process automatic and forget about it, if you want.
Usage
Step 1: Configuration
Before you can use this module, you need to allow FTP access and set password for your FTP account in Edeposit site.
Step 2: FTP connection
After you set all necessary details in Step 1, you can try to connect to the FTP server.
Recommended FTP client is FileZilla, but you can use whatever FTP client you have.

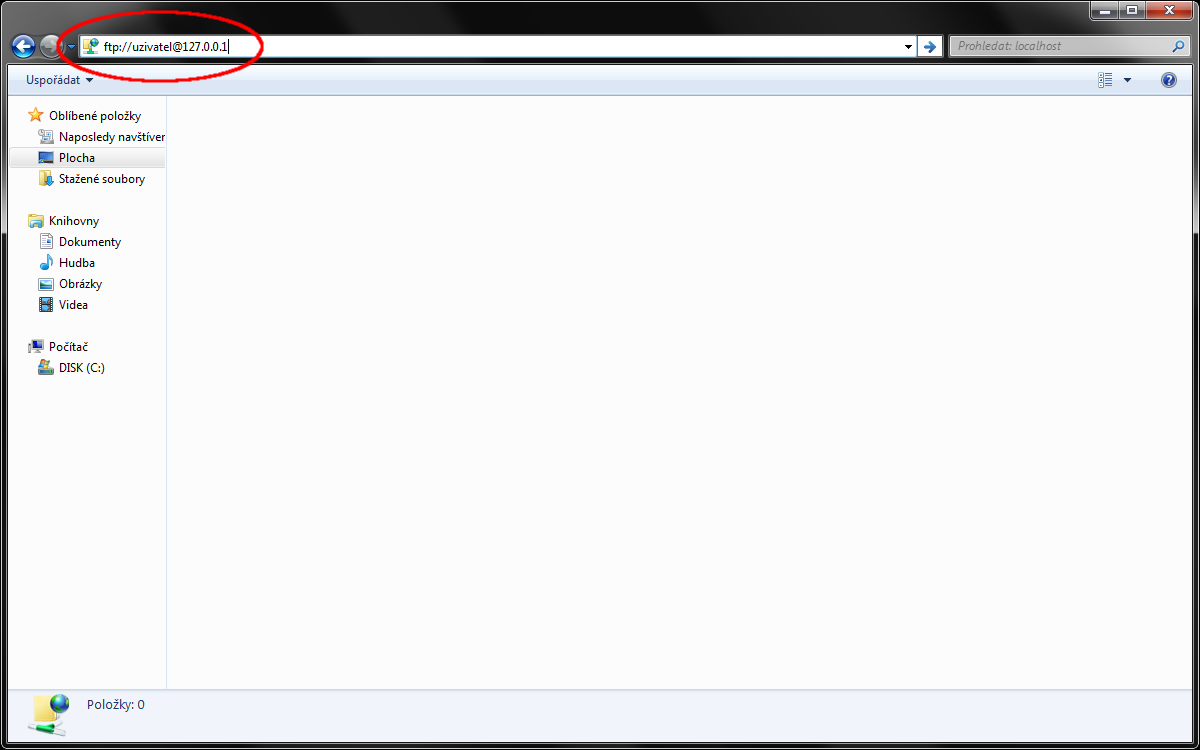
Following pictures and animation uses the caja FTP client from Linux Mint. You can use Explorer from Windows in similar way by typing ftp://user@address to navigation bar.
When you connect to your account, you will probably notice that there is already one file - usually named as delete_me_to_import_files.txt. When you delete this file, nothing happens, except that the file is there again.
It all right, don’t worry about it now, it will be explained later.
Step 3: Pairing the data
This module allows you to pair the ebook files with metadata. It can automatically recognize this pairs and put them together at Edeposit site.
Pair always consist from metadata and ebook file. It can be created in three different ways:
- Put together exactly two files in one directory, which contains nothing else. Name of the files is not important.
- Upload two files with same name into same directory. Files differ only in suffix (for example babicka.json and babicka.pdf). There can be multiple samenamed pairs in one directory.
- Create two files named as ISBN of the book they are describing. No matter where the files will be in directory structure, they will be paired. For example /metadata/80-86056-31-7.json and /ebooky/80-86056-31-7.pdf
All methods of pairing can be disabled in your user account.
Step 4: Triggering the import
As you probably guessed, the import is triggered by deleting automatically created lock file delete_me_to_import_files.txt.
Reason for this is that FTP uploads are not atomic. Client can close connection, open another and continue in file upload and it is still perfectly valid upload of the file. There is no good way how to recognize that file was fully uploaded, unless the user will tell us.

Import and error log
As you can see at example animation, when I’ve uploaded the files and triggered import, not only the lock file was created, but also the file named import.log.txt.
This is important part of the communication API for automation of the upload, because you get overall information at first line (Status: Ok/Error) and details of processing each file in lines under the status.
In case of bad metadata files, error log is created and bad files are left where they were found:
You can change some of the behavior in settings.
Metadata details
Every data file (ebook) should have metadata. It is not required, but it can save you a lot of work later in web interface.
So far, the program has support for four formats of metadata:
Metadata are recognized by their suffix - .json for JSON files, .csv for CSV, .xml for XML and .yaml for YAML files.
Warning: All metadata files should be encoded in UTF-8 encoding!
Every metadata file has to contain few required fields and may contain also few optional. Description and list of the fields can be found here:
In case that metadata file has bad structure, encoding or permissions, error log is created and files are skipped.